
Back in the day, I used to catch spiders and keep them in pickle jars that still smelled like pickles. I would use a kitchen steak knife to punch holes in the lids. I still have a scar between my thumb and index finger from missing once. I would toss grass in ‘ere, label the jar “Killer” or some other awesome name and put it on the shelf of my toy box. Since I was only 6 or 7 years old, I have no meticulous notes. I didn’t even know what kind of spiders I had. They were either Big Spiders or Little Spiders. The bigger, the better. You’d think a tarantula would’ve been the perfect pet for me, but both of my parents were more on the phobic side with spiders, plus, a tarantula was an exotic import and we didn’t have major pet store chains like Petco back then. I used the backyard as my pet store.
One year, I received an amazing birthday gift, a cylindrical, wooden “bug box” with a cork at one end. I carried that thing everywhere and some of my most exhilarating childhood moments were trying the get the Big Spiders into it. For the record, I was never bitten by a spider considering how much I messed with them. Unfortunately, I did kill a lot of spiders by accidental squishing or unintentional dehydration. Although the bug box was a bug keeping breakthrough for me, it wasn’t a great spider home due to it’s shape and inability to hold moisture.
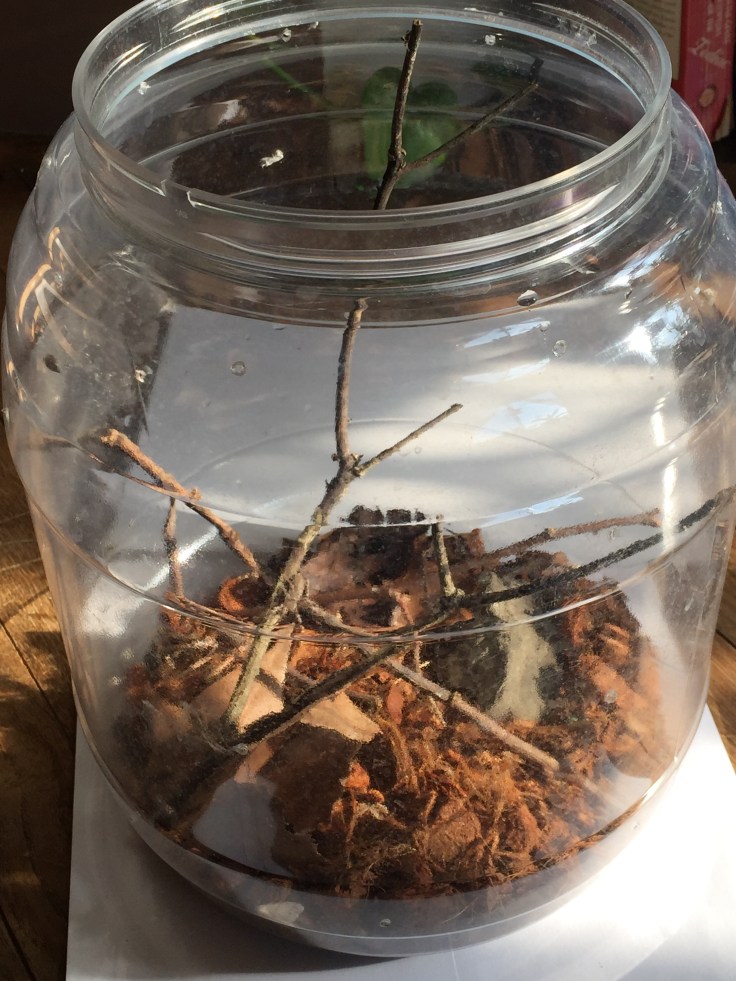
Along the way of creating cages, terrariums, habitats, and enclosures, I did figure out some things. Although grass clippings are good in that they can give off some moisture, most spiders don’t live in grass nests. Some spiders build webs and some spiders don’t build webs preferring a vagabond life. Having bark, twigs, and even cardboard as hiding sites or silk attachment sites are important. Moisture is important. Most spiders will die without some kind of water source whether it be a small water dish (milk cap) or a daily mist with a spray bottle. I’ve noticed that spiders usually found in homes are much more tolerant of dry conditions and make easy pets. I recommend keeping any spider as a pet!

I don’t use glass jars anymore either. The variety of plastic containers available makes building spiders homes fun! I reuse cheese puff containers, cookie containers, pretzel rod containers, anything with clear plastic. Clear lids are a bonus. Cobweb spiders like to hang upside down from the tops. A clear lid allows you to see them without having to tip the container sideways. Plastic is also easy to poke holes through. The holes are more for humidity control than spider oxygen. Spiders have a low metabolic rate and can survive in a hole-less container for months (granted you are opening it once in a while to give the spider food and water).
I leave a lot of open area for web builders by attaching burlap or sticks to the sides of the plastic so the spiders have something to grip as they climb (web building spiders lack the extra setae, or hairs, on their feet which allows roaming spiders to “stick” to vertical surfaces). Another trick I learned was to put an “X” of twigs across the top of cobweb weaver containers so they attach silk to the twigs instead of the lid.


Taking the lids off of my orb weaving spider containers proved to be destructive to the webs because some part of it would be attached to the lid. I couldn’t feed them without destroying the webs! So, I made slits in the lids. This simple adjustment has made feeding SO much easier, especially when feeding flying insects. Trying to transfer a fast flying insect from one container to another has always resulted in a high rate of failure and a lot cursing on my part (not to mention the insect being loose in the house). The slit lid technique works beautifully. I use a capped vials to catch flies (or other winged bugs) against a surface and can quickly attach the lid. To transfer, I simply press the vial into the spider container lid. The slit opens and the fly goes into the spider container which houses an intact web. It’s awesome!


Building spider habitats can be really fun. Keep in mind where you caught the spider. Was it among the leaves? Use the same kind of leaves as substrate. Does it need a tall space or a wide space? A good sign that you’re doing well is that your spider is eating! Be creative, be attentive and a spider pet can be rewarding, especially if you’re trying to get over a fear of them. Come up with a cool pet name for your spider (you may use Killer) and you’ll have an extremely unique conversation piece when company comes over!
For more info on rearing spiders, check out any of the resources on this page: Really Good Spider Websites.


will spiders make webs in a plastic container?
LikeLike
They will! Orb weavers need something to climb though. They can’t “grip” the sides of the smooth surface so I attach twigs to the sides (with tape) and leave as much open space as possible for the web.
LikeLike
Should I take a newborn lesser glasshouse spider in? I don’t know how I could possibly catch insects that small for him/her.
LikeLike
Hi Kairi, I don’t know what a glasshouse spider is. Do you have a scientific name for it? The smallest spiders I had were fed springtails.
LikeLike
How long does a common house spider live in captivity??
LikeLike
Depending on what kind of spider it is and how old it is when you catch it, up to 7 years in my experience!
LikeLike